Roofing Mastery: Getting the Best out of Professional Tile Installation
I. Introduction
A professionally installed tile roof not only ensures structural soundness and durability but also significantly enhances the aesthetic appeal of your property. In addition to withstanding harsh weather conditions, a well-installed tile roof provides excellent insulation, offering energy efficiency and cost savings in the long run.
II. Choosing the Right Tile Material for Your Roof
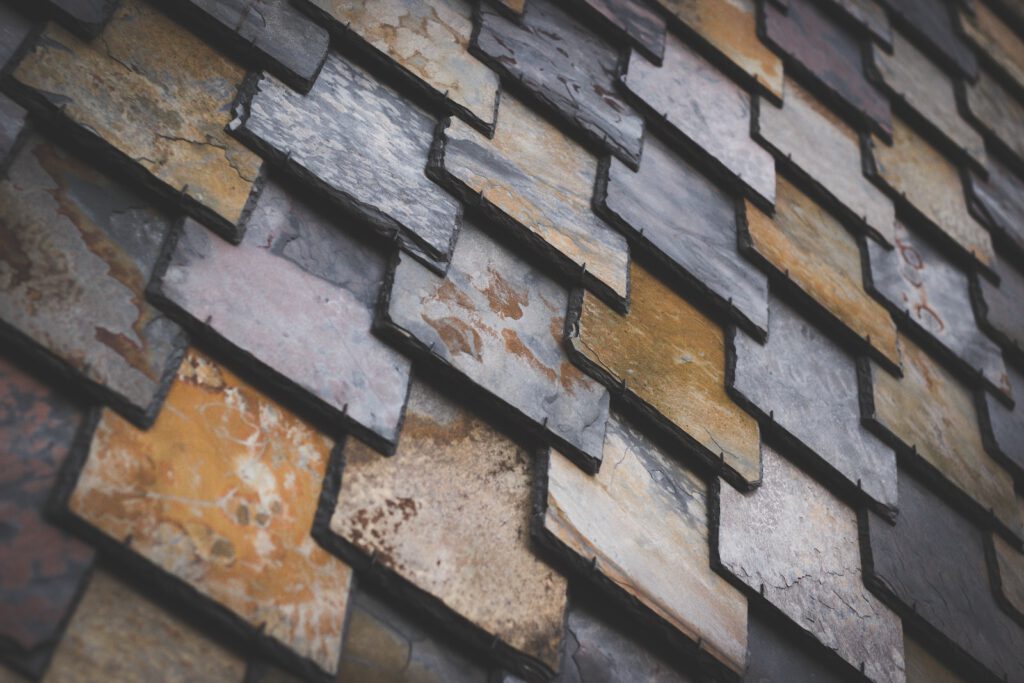
When it comes to tile materials, there are various options available in the market, each with its own unique characteristics and benefits. Understanding the different types of roof tiles will help you make an informed decision based on your preferences, budget, and the climate of your region.
-
Durability and longevity: It is essential to choose a tile material that can withstand the elements and has a long lifespan. Clay tiles, for example, are known for their durability and ability to withstand hot and dry climates, while concrete tiles perform well in colder temperatures.
-
Aesthetic appeal and architectural style: The chosen tile material should complement the architectural style of your home and enhance its overall appearance. With a wide range of colors, finishes, and shapes available, you can customize your tile roof to suit your preferences and create a visually appealing look.
-
Climate suitability: Considering the climate of your region is crucial when selecting a tile material. Clay or slate tiles are recommended for hot and arid regions due to their heat resistance, while concrete tiles provide excellent insulation in colder climates. Metal tiles, on the other hand, are a versatile choice suitable for various climates, as they are resistant to both heat and cold.
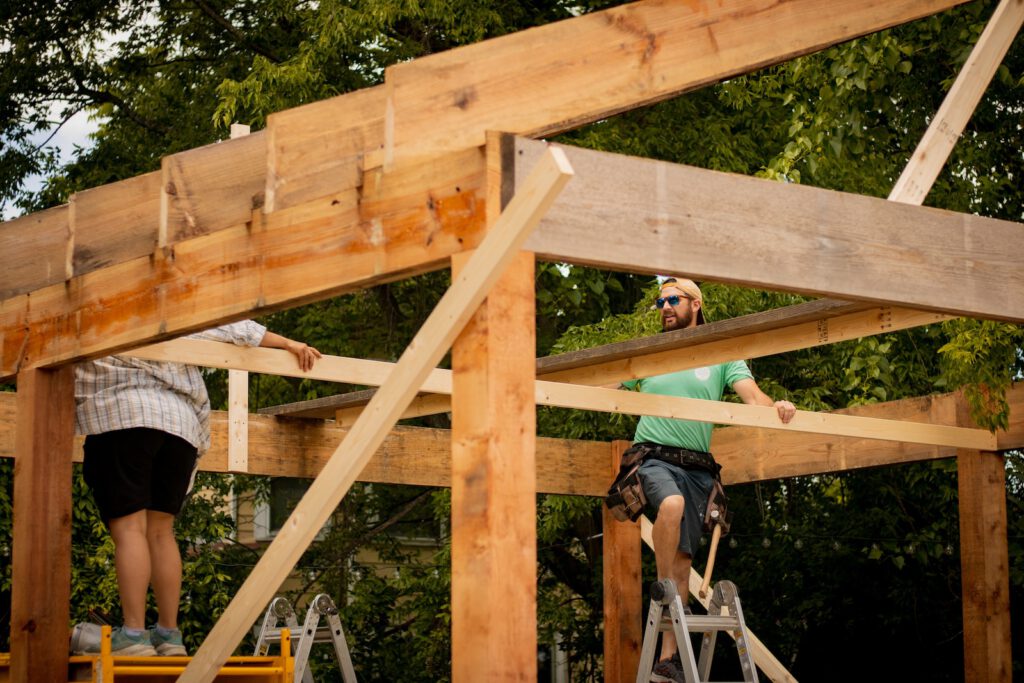
III. Understanding the Tile Installation Process
Proper preparation and step-by-step installation are key to ensuring a successful tile roofing project. Familiarize yourself with the installation process to understand what to expect and ensure the best results.
A. Pre-installation preparations:
-
Roof inspection and repairs: Before installing tiles, it is important to conduct a thorough roof inspection to identify any existing damages or weak spots that require repairs. This step ensures a solid foundation for the new roof.
-
Ensuring proper underlayment and ventilation: Proper underlayment and ventilation play a crucial role in the longevity of your tile roof. Underlayment provides an additional layer of protection against water infiltration, while ventilation helps prevent heat buildup.
B. Step-by-step tile installation guide:
-
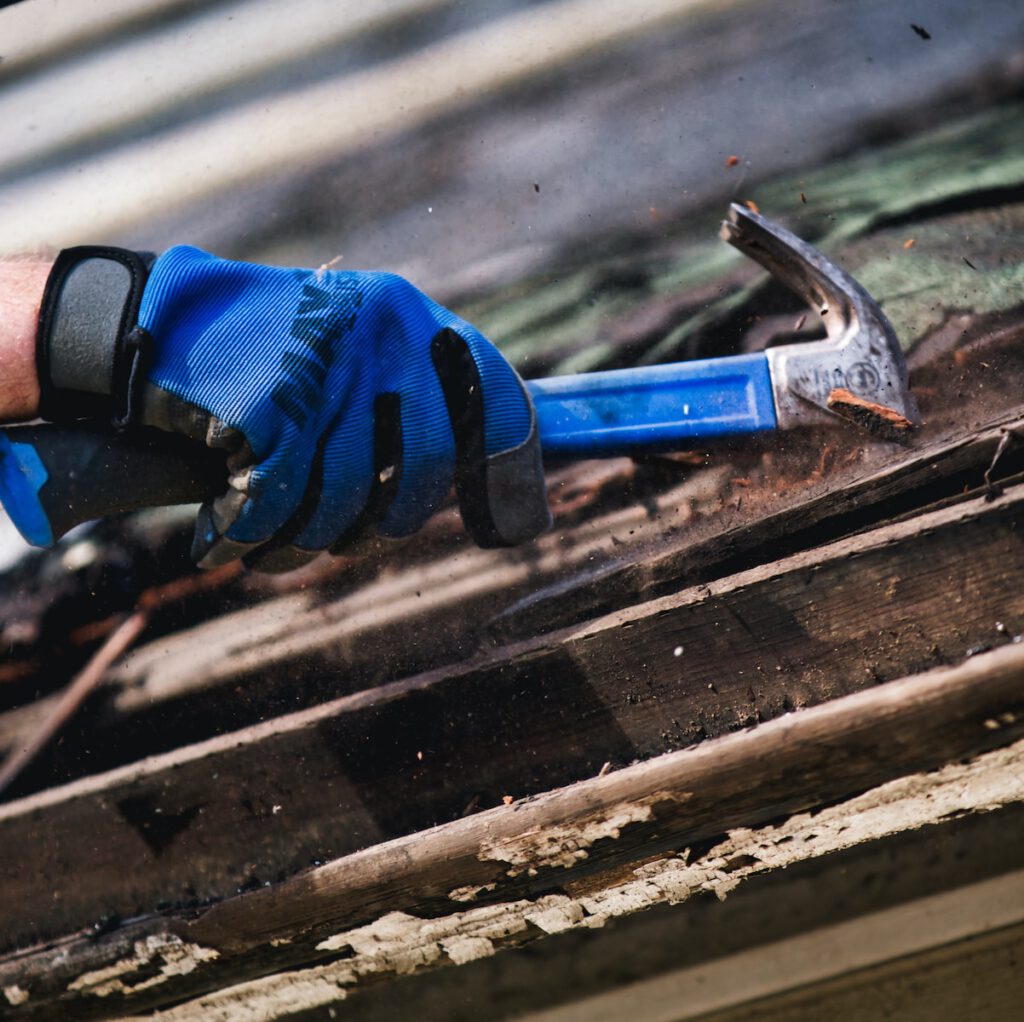
Removal of existing roofing materials: If you are replacing an old roof, the first step is to carefully remove the existing roofing materials to avoid causing any structural damage.
-
Installation of drip edge and other necessary components: Install the drip edge and other essential components to direct water away from the roof and prevent leaks.
-
Laying the underlayment and starter course: Once the drip edge is in place, lay the underlayment and starter course. Underlayment provides an extra layer of protection, while the starter course ensures proper alignment of the tiles.
-
Proper tile layout and alignment techniques: Correctly laying out and aligning the tiles is crucial for optimal performance. Misaligned tiles can lead to water leaks and reduce the roof’s lifespan.
-
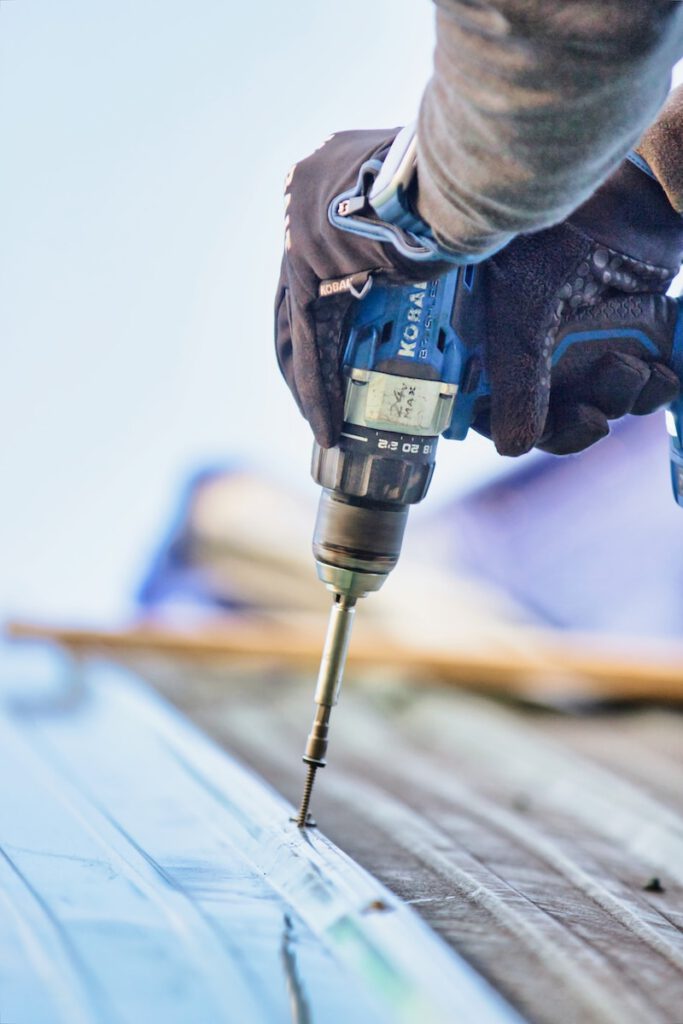
Securing tiles in place: After aligning the tiles, securely fasten them in place using appropriate fasteners. This step ensures that the tiles remain intact even under harsh weather conditions.
-
Installation of ridge tiles and hip tiles: Ridge tiles are installed at the roof’s peaks, while hip tiles are installed at the corners. These tiles not only add to the aesthetic appeal but also enhance the roof’s durability.
-
Finishing touches and necessary adjustments: Add the finishing touches, such as sealing the tiles and checking for any misaligned tiles. Ensure that all components are securely fastened to guarantee a well-installed tile roof.
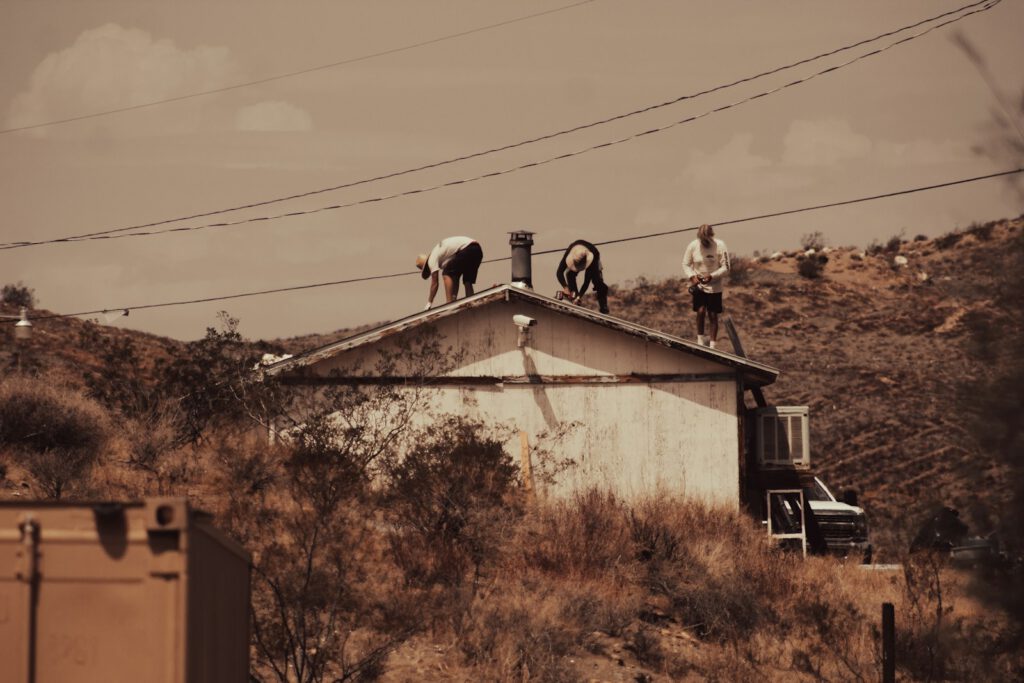
C. Importance of hiring experienced and skilled professionals for tile installation:
Hiring experienced and skilled professionals for tile installation is crucial to ensure proper installation and prevent potential issues. They possess the necessary expertise and tools to deliver high-quality workmanship and can provide valuable advice on maintenance and care for your tile roof.
IV. Maintaining and Caring for Your Tile Roof
To maximize the lifespan of your tile roof, regular inspections and maintenance routines are essential. Follow these guidelines to keep your roof in top condition:
A. Regular inspections and maintenance routines:
Perform regular inspections to check for any signs of damage, such as cracked or broken tiles. Additionally, clean the gutters and ensure proper ventilation to prevent moisture buildup.
B. Cleaning methods and precautions:
When cleaning your tile roof, it is important to use appropriate methods and precautions. Avoid using high-pressure washers as they can damage the tiles. Instead, opt for a gentle cleaning solution and a soft brush to remove dirt and debris.
C. Identifying and addressing common tile roof issues:
Common issues with tile roofs include cracked or broken tiles, leaks, and moss or algae growth. It is crucial to promptly address these problems to prevent further damage. Replace damaged tiles, repair leaks, and remove any moss or algae growth using specially formulated cleaning solutions.
D. Professional maintenance services and their benefits:
Consider hiring professional maintenance services to ensure your tile roof’s optimal performance. These experts utilize specialized equipment and techniques to detect and rectify any issues. Furthermore, they can provide useful tips on maintaining your roof and prolonging its lifespan.
V. Enhancing the Performance and Longevity of Your Tile Roof
To further enhance the performance and longevity of your tile roof, consider the following:
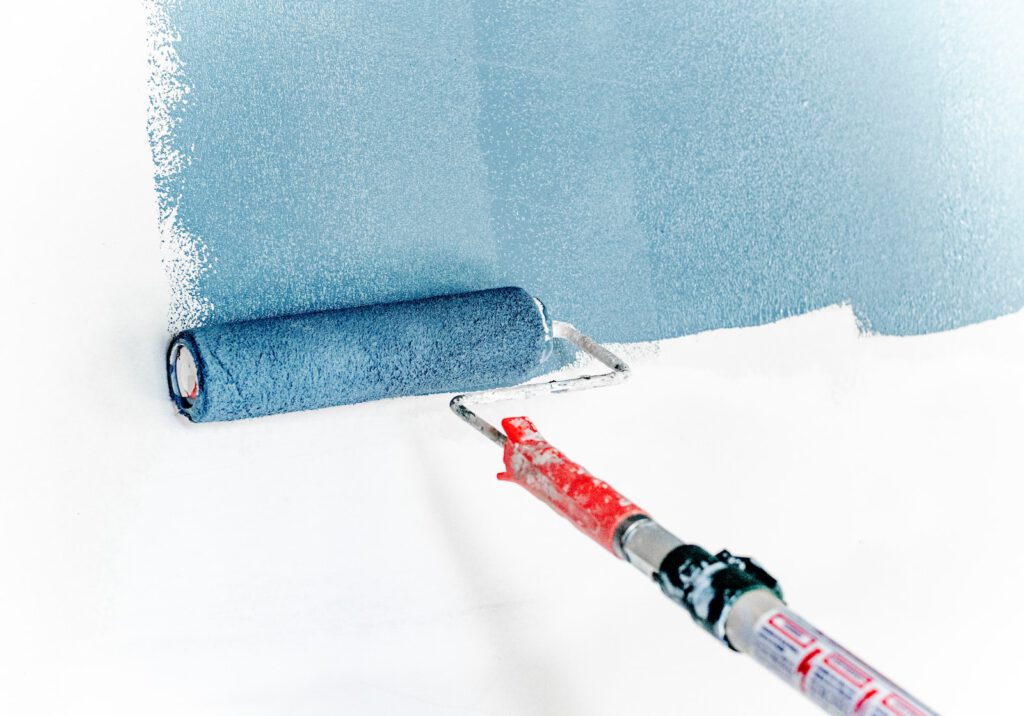
A. Adding protective coatings and sealants:
Applying protective coatings and sealants can significantly enhance your tile roof’s performance. These coatings provide an additional layer of protection against weather elements, prevent color fading, and extend the lifespan of your roof.
B. Improving insulation and energy efficiency:
Enhancing your roof’s insulation can greatly improve energy efficiency. Consider installing insulating materials under the tiles or opting for tiles with built-in insulation. This helps regulate indoor temperature and reduces energy consumption.
C. Proper gutter maintenance and rainwater management:
Maintaining your gutters and effectively managing rainwater is crucial for the health of your tile roof. Ensure that gutters are clean and free from debris to prevent water accumulation, which can lead to roof and structural damage.
D. Dealing with moss, algae, and other organic growth:
Promptly address any moss, algae, or other organic growth on your tile roof. These growths can cause damage if left unchecked. Use specialized cleaning solutions to effectively remove them and prevent further issues.
VI. Conclusion
In conclusion, this article has provided a comprehensive guide to achieving roofing mastery through professional tile installation. By understanding the importance of professional installation, choosing the right tile material, following the correct installation process, and implementing proper maintenance and enhancement strategies, you can enjoy a beautiful and durable tile roof that will stand the test of time. Prioritize professional tile installation for your roofing needs to ensure a structurally sound, aesthetically pleasing, and long-lasting roof for your property.